持续继承
持续集成是计划编译,运行测试用例的自动化集成的总称,可以在每次提交过程中自动编译,运行测试用,发现程序问题
常见持续集成工具 Bitrise, Github Actions, Jenkins
Github Actions
GitHub Actions 是 GitHub 的持续集成服务,于2018年10月推出。
GitHub Actions 有一些自己的术语。
workflow (工作流程):持续集成一次运行的过程,就是一个 workflow。
job (任务):一个 workflow 由一个或多个 jobs 构成,含义是一次持续集成的运行,可以完成多个任务。
step(步骤):每个 job 由多个 step 构成,一步步完成。
action (动作):每个 step 可以依次执行一个或多个命令(action)。
配置Actions
打开github reponstories

点击Actions
第一次使用的话,点击Set up workflow
跳转到.yml文件编辑模式,Github是基于YAML文件格式配置集成工具
默认样式如下
1 | name: Swift |
默认无法编译通过,需要进行部分修改
修改run配置
1 | run:xcodebuild -project 'projectName.xcodeproj' -scheme projectName -destination 'platform=iOS Simulator,name=iPhone 8' |
如果你使用了pods,编译的是workspace,可以改为
1 | run:xcodebuild -workspace 'projectName.xcworkspace' -scheme projectName -destination 'platform=iOS Simulator,name=iPhone 8' |
最终脚本效果:
1 | name: Swift |
写完yaml之后提交,会开始尝试首次编译
如果编译成功

失败的话,根据error信息进行定位
如果需要执行测试用例
添加
1 | - name: Run tests |
Jenkins
官网
https://www.jenkins.io/download/
下载对应平台
以macos为例
用brew安装最新版本
1 | brew install jenkins-lts |
安装指定版本
1 | brew install jenkins-lts@YOUR_VERSION |
安装完成后,启动jenkins
1 | brew services start jenkins-lts |
启动成功后
http://localhost:8080 进入配置页面
- 从此目录复制密码到解锁 Jenkins
1 | /Users/diaoke/.jenkins/secrets/initialAdminPassword |
安装推荐插件
安装完成后,进入管理页面
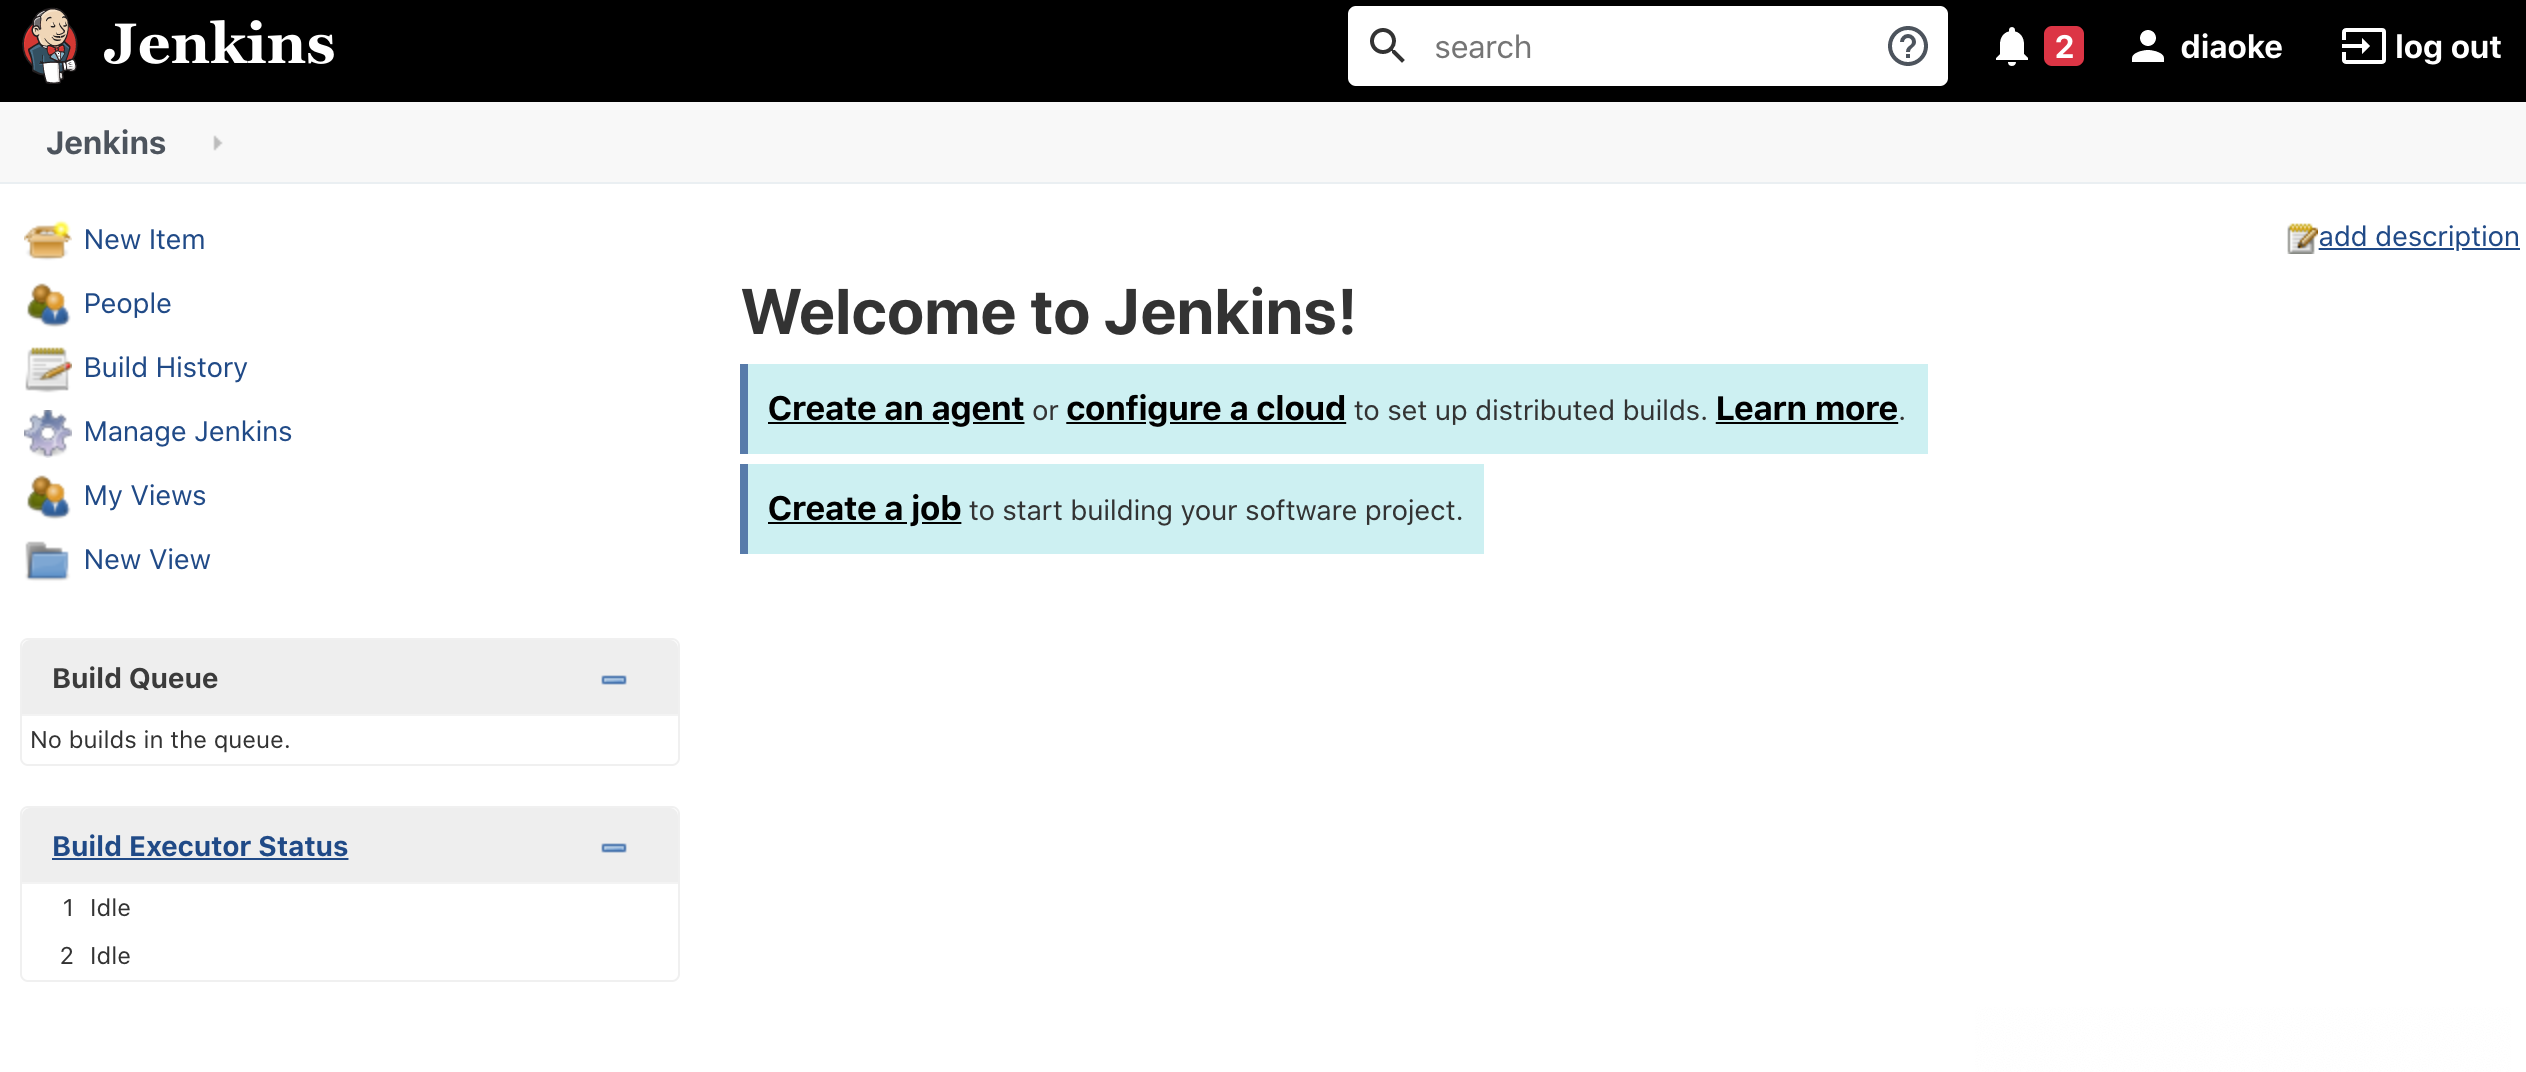
创建新job(create new job)
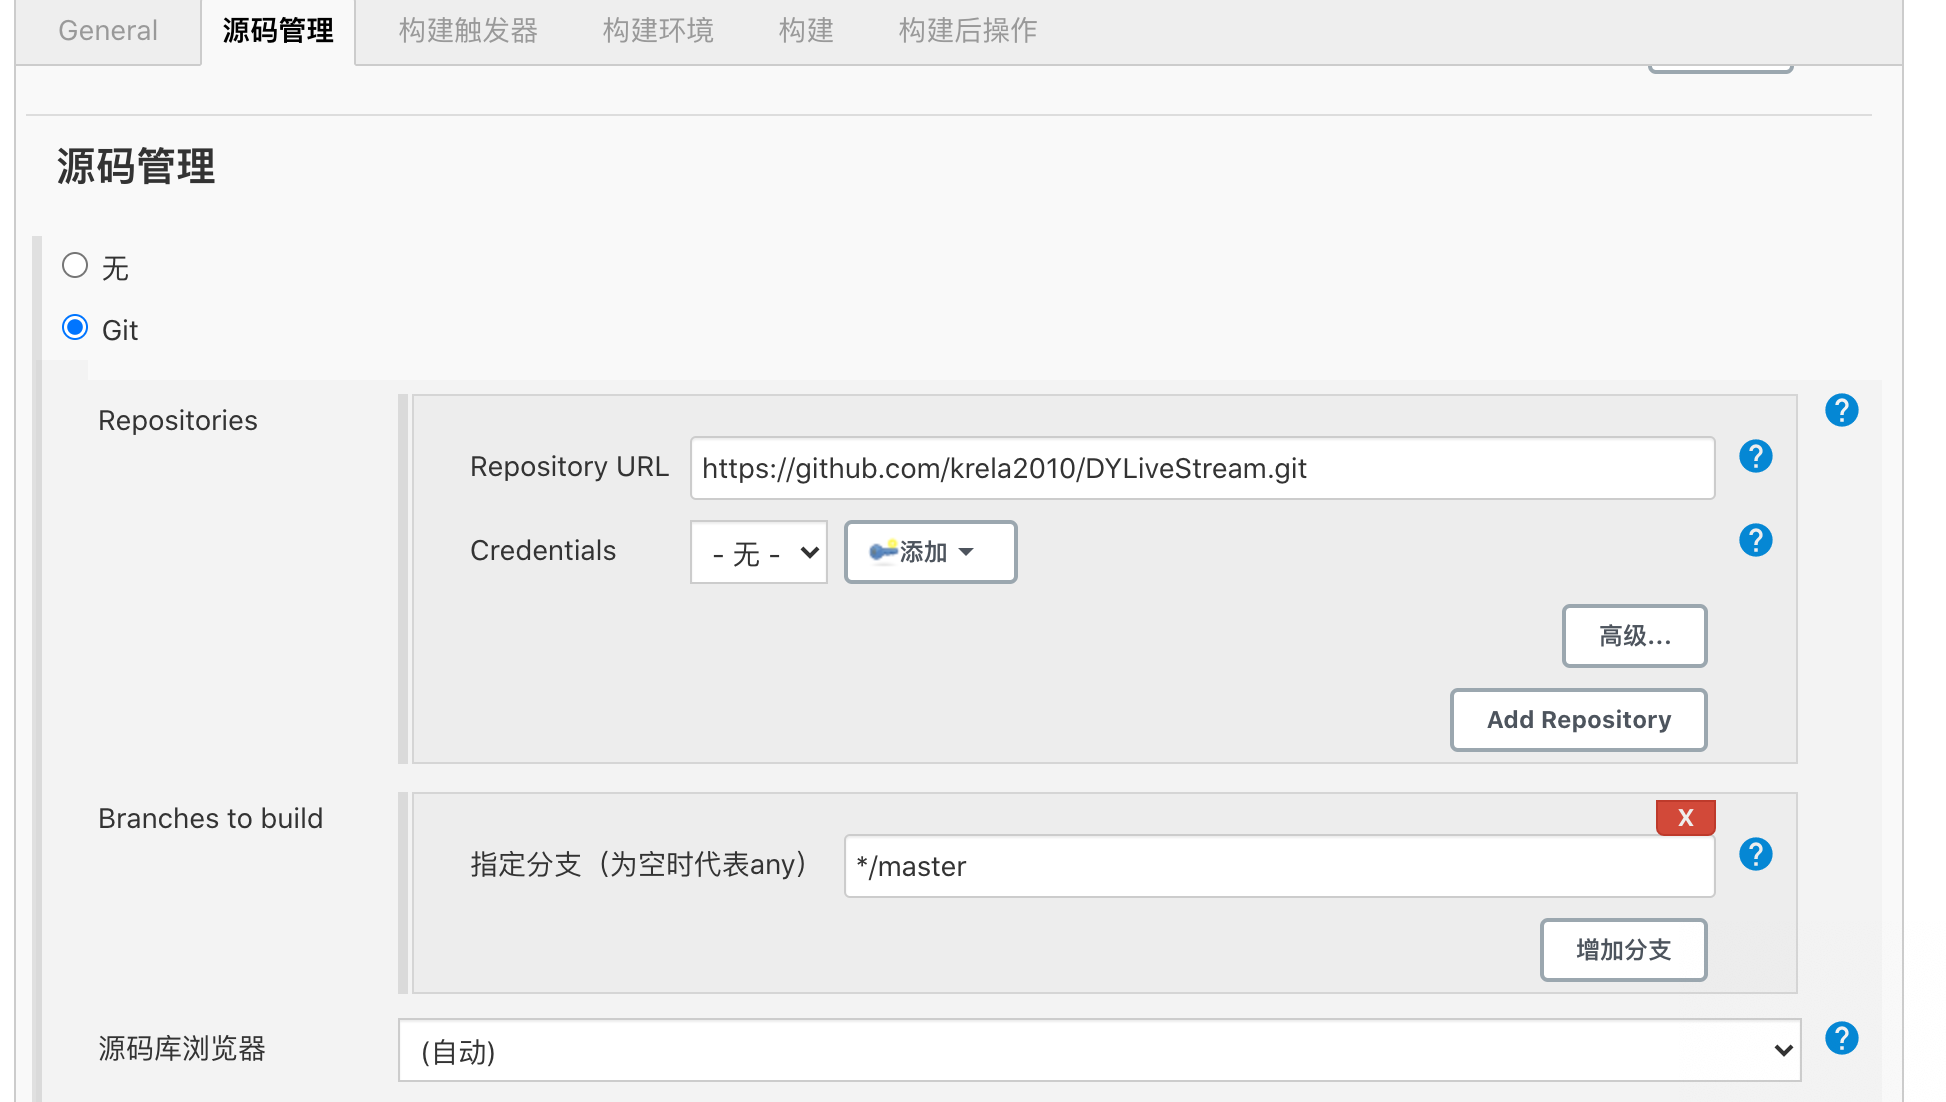
创建
Freestyle project输入git url
添加build步骤
增加执行shell脚本步骤
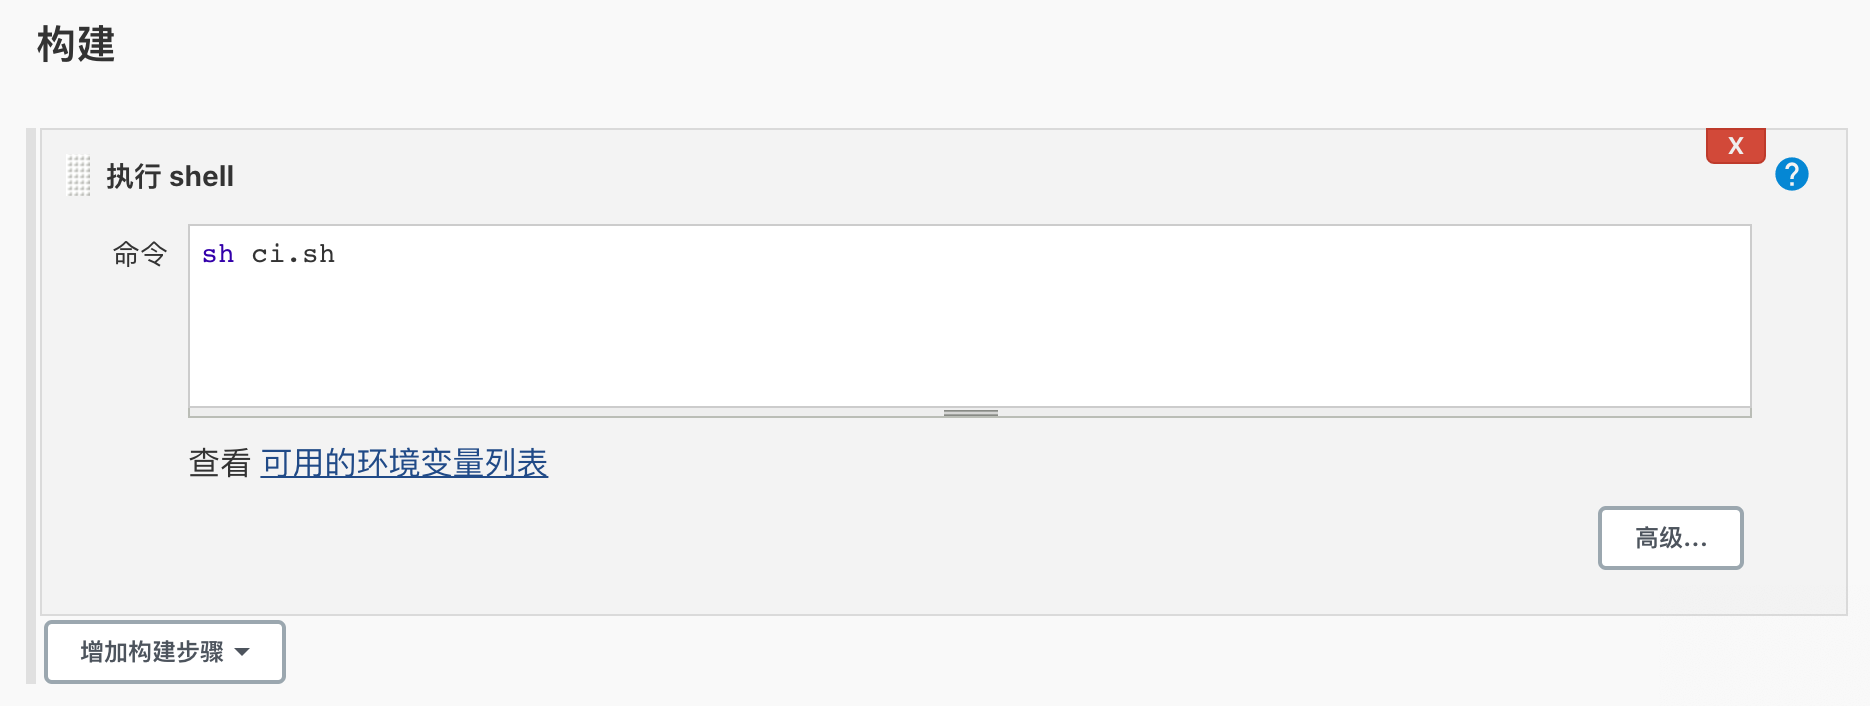
在项目根目录ci.sh 内容和github actions里配置一样
1
2!/bin/sh
xcodebuild -workspace 'DYLiveStream/DYLiveStream.xcworkspace' -scheme DYLiveStream -destination 'platform=iOS Simulator,name=iPhone 8'添加执行权限
1
chmod +x ci.sh
提交
构建触发器
本项目假定按照定时触发规则
用的是linux crontab的语法
选择
定时构建,比如每5分钟构建一次,H代表hash,并非准确时间1
H/5 * * * *
还有一些时间样例
1
2
3
4
5
6
7
8
9
10
11
12Examples:
# every fifteen minutes (perhaps at :07, :22, :37, :52)
H/15 * * * *
# every ten minutes in the first half of every hour (three times, perhaps at :04, :14, :24)
H(0-29)/10 * * * *
# once every two hours at 45 minutes past the hour starting at 9:45 AM and finishing at 3:45 PM every weekday.
45 9-16/2 * * 1-5
# once in every two hours slot between 9 AM and 5 PM every weekday (perhaps at 10:38 AM, 12:38 PM, 2:38 PM, 4:38 PM)
H H(9-16)/2 * * 1-5
# once a day on the 1st and 15th of every month except December
H H 1,15 1-11 *
保存回到主页,点击
Build Now构建任务开始执行